Having a car headliner come loose or fall can be an annoying and sometimes expensive repair. But it doesn’t have to be. This article will provide you with a step-by-step guide on how to fix your car’s headliner quickly and easily, so you don’t have to worry anymore.
With the right materials, some patience, and a bit of elbow grease, anyone can take care of this problem in no time. The steps discussed here are simple enough for even beginners to follow along without too much difficulty. So let’s dive in and get started!
Preparing for the Repair
Before you begin the repair process for your car headliner, it’s important to prepare yourself and make sure you have all of the necessary tools. Start by gathering materials like a utility knife, fabric glue or spray adhesive, upholstery foam or batting, and the new headliner material. Make sure that the new material is cut to size so that it matches your car’s interior dimensions perfectly.
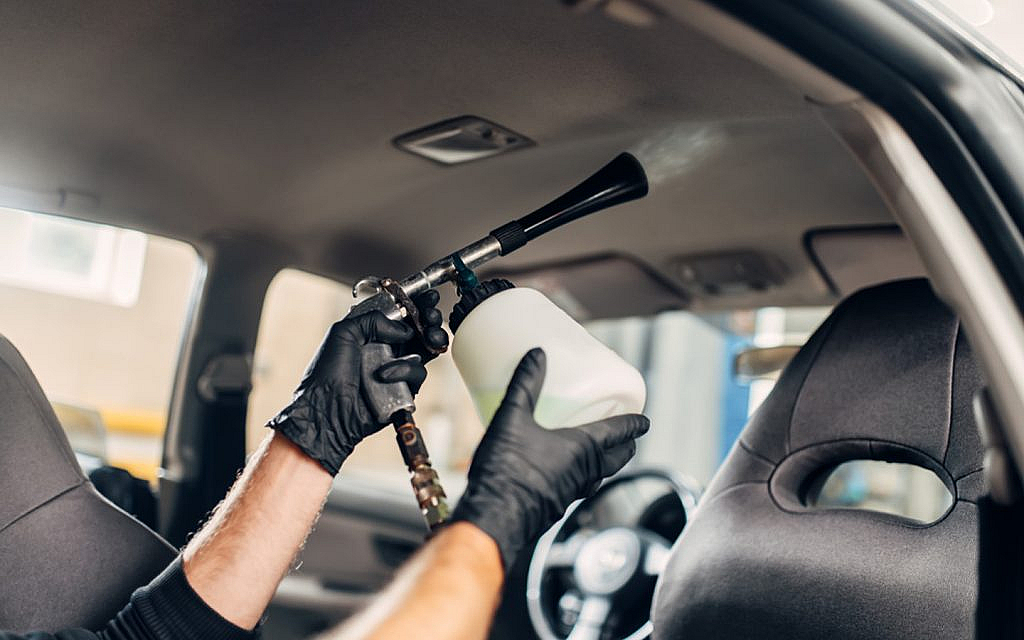
Additionally, check for any rust or corrosion in areas around where you’ll be working before starting. Finally, if necessary rent a steamer to help remove old pieces of fabric more quickly and easily. With these preparations taken care of, you will be ready to start fixing your headliner!
Removing the Damaged Headliner
Removing a damaged headliner from your car can seem like an intimidating task. However, with the right tools and knowledge, it is quite simple. Before you begin, make sure that you have all of the necessary supplies such as safety glasses to protect your eyes, gloves to avoid getting any cuts or scrapes on your hands, and a replacement headliner if applicable.
Once these items are gathered, turn off the power in your vehicle to prevent any potential electrical shocks while working inside the interior of the car. Next, start by removing all trim pieces located around where the headliner meets the roof of your car – this should be done carefully not to damage them in any way during removal. Then use a screwdriver or similar tool to loosen up some screws along its edges so they can be removed as well.
With these steps complete, you will then want to use scissors or a knife (carefully!) to cut away at whatever adhesive was used when installing it originally until it comes free from its mounting surface – take care here not to cause further damage! Finally, once everything has been taken apart correctly discard old material responsibly before proceeding with the installation of new one if desired/necessary.
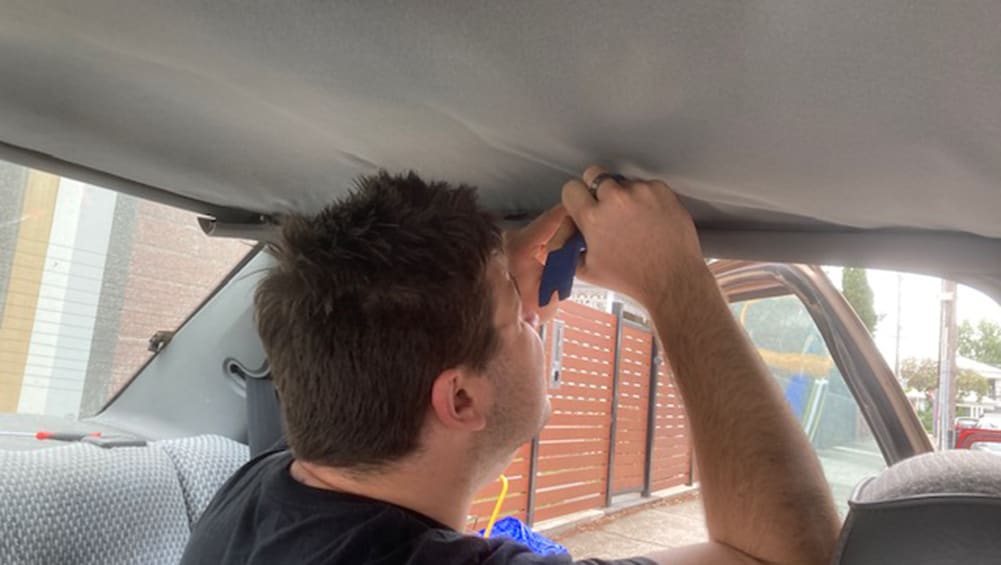
Installing the New Headliner
Installing a new headliner in your car can be a daunting task, but with the right supplies and some patience, it can be done. Before beginning, make sure you have all of the necessary items. You will need adhesive, a utility knife or scissors, upholstery foam, and fabric for the headliner itself.
It is also important to wear protective glasses when cutting into any part of the car interior. First, remove any remaining pieces from your old headliner using either a scissors or knife depending on how much material needs to be cut away. Take caution not to damage anything else as you do this step! Once that’s finished, use adhesive to attach upholstery foam onto the interior roof panel where your new headliner will go.
Then lay out your fabric over the top of this so that it covers everything nicely before finally adhering it down with more glue or tape if needed. Finally, trim off any excess fabric around the edges before reinstalling screws or other components removed during the disassembly stage earlier – making sure everything is secure and tight once again! With these steps completed successfully, you should now have an installed brand-new car headliner ready for years of enjoyment ahead!
Finishing Touches and Cleanup

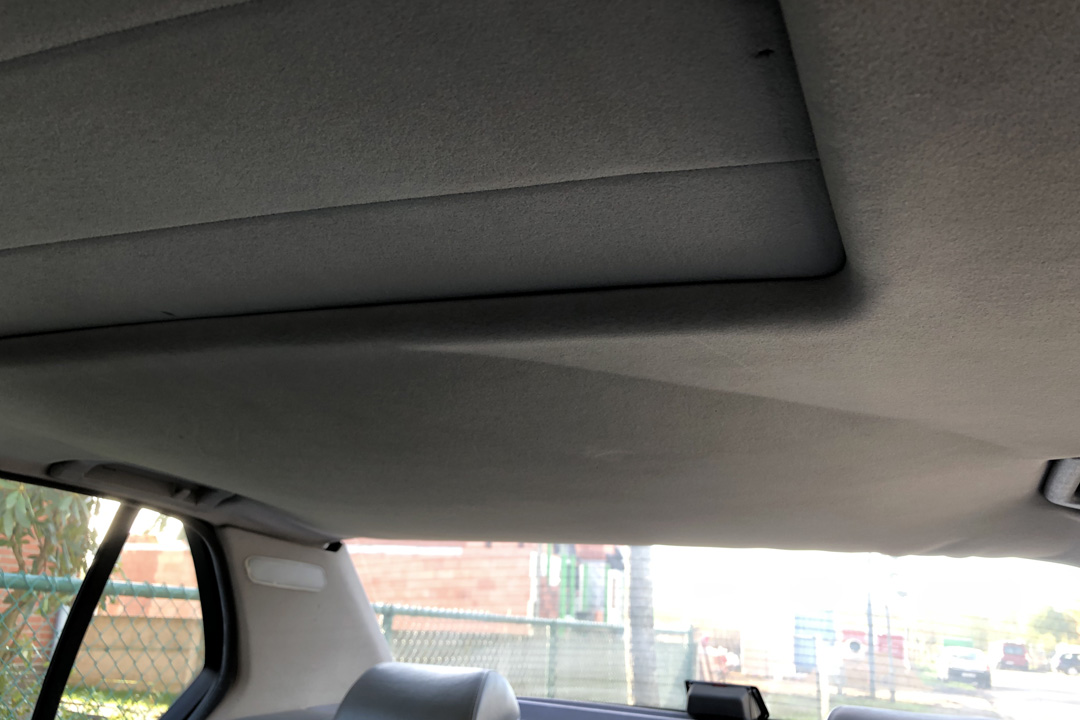
Now that you have followed the steps in this guide to fix your car headliner, it is time for the finishing touches and cleanup. Begin by checking over the headliner for any remaining staples or glue residue before wiping away excess dirt with a damp cloth. If there are stubborn marks left behind, use a mild detergent to remove them.
Once your headliner is clean and dry, use scissors to trim off any extra fabric around the edges of the board. Finally, apply a coat of spray adhesive on both sides of the new fabric – this will help ensure it adheres properly and lasts longer. And there you have it – you’ve successfully fixed your car’s headliner!
Conclusion

Fixing your car headliner can be challenging, but the right tools and a little patience will help you get the job done. With this step-by-step guide, you now have all the information necessary to fix your car headliner.
From finding the correct replacement material to applying adhesive, it is important to take each step slowly and carefully to ensure that your car headliner looks as good as new when finished. While there are many potential causes for a damaged car headliner, following this guide should give any driver peace of mind that their vehicle’s interior will look great for years to come.